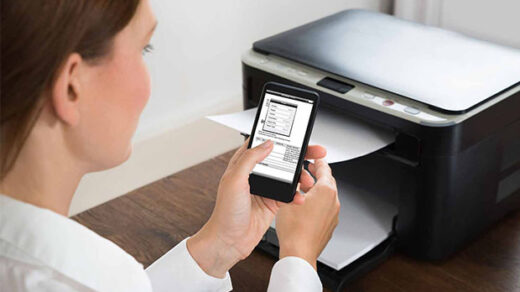
If you want to know how to print on tissue paper, this post is right for you.
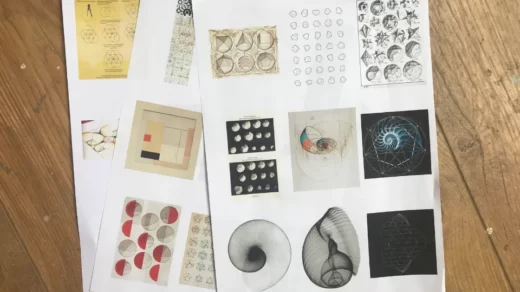
Take a moment to consider your options. Books, seed packets, magazines, photos, cards, and wrapping papers can all be scanned. Then, print onto cheap everyday tissue paper. You may come up with even more ideas, I’m sure!
Table of Contents
What You’ll Need for Printing on Tissue Paper
Equipment / Tools
- Scissors
- Glue stick
- Brayer, acrylic roller, or glass jar
- Printer
- Iron (optional)
- Paper fixative/sealant (optional)
Materials
- Tissue paper
- Plain printer paper (enough to cover however much tissue you’re making)
How to Print on Tissue Paper?
Here is a step-by-step guide on printing on tissue paper.
To determine how many 8.5 x 11.25-inch sheets you can get out of the tissue, spread it out and place cardstock on it in step 1.
Step 2: Important: Before folding and cutting, stack up to 10 sheets of tissue so that the edges are all even.
To fit into your paper cutter, fold the tissue once or twice, keeping the edges straight. Using scissors to cut it is also made simpler by doing this. Cut an 8 1/2″ strip. It may be slightly smaller but not larger.
Step 3: Trim that strip you just cut so that it is 11.25″ long (a little longer is ok). Finish cutting the rest of the tissue so you have sheets that are 8.5″ x 11.25″.
Step 4: Align the three sides of a cut-out piece of tissue paper on a piece of cardstock. Given that it is longer than the cardstock, the tissue should protrude slightly from the last side.
Step 5: Fold the extra tissue over the cardstock’s back and tape it in place along the cardstock’s edges and in the center. It will be simpler to remove later if you use washi tape.
Step 6: If you are unfamiliar with your printer, try different scenarios to determine whether it prints on the front or the back of the loaded page.
You will likely need to tape all of the tissue’s edges if it prints on the front of the loaded page because the printer will grab the tissue at that point and it needs to be secured. To print your tissue paper, use your digital download.
Step 7: After printing on the tissue, take off the tape. To print the following page, you can use the same cardstock.
Read More:
Final Words: How to Print on Tissue Paper
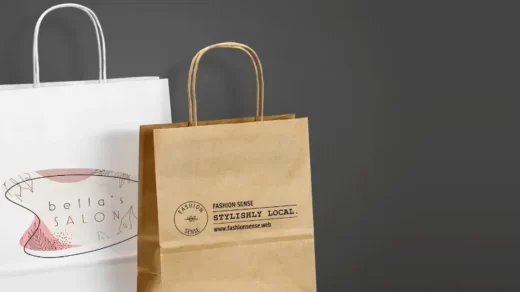
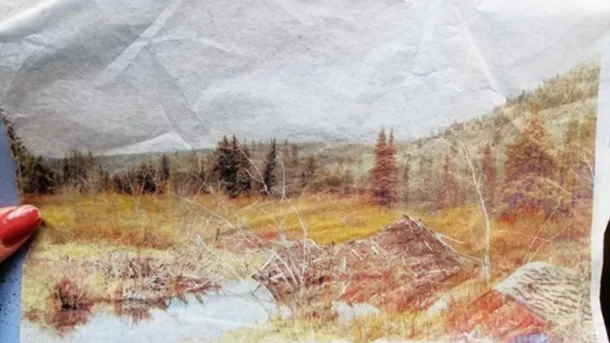
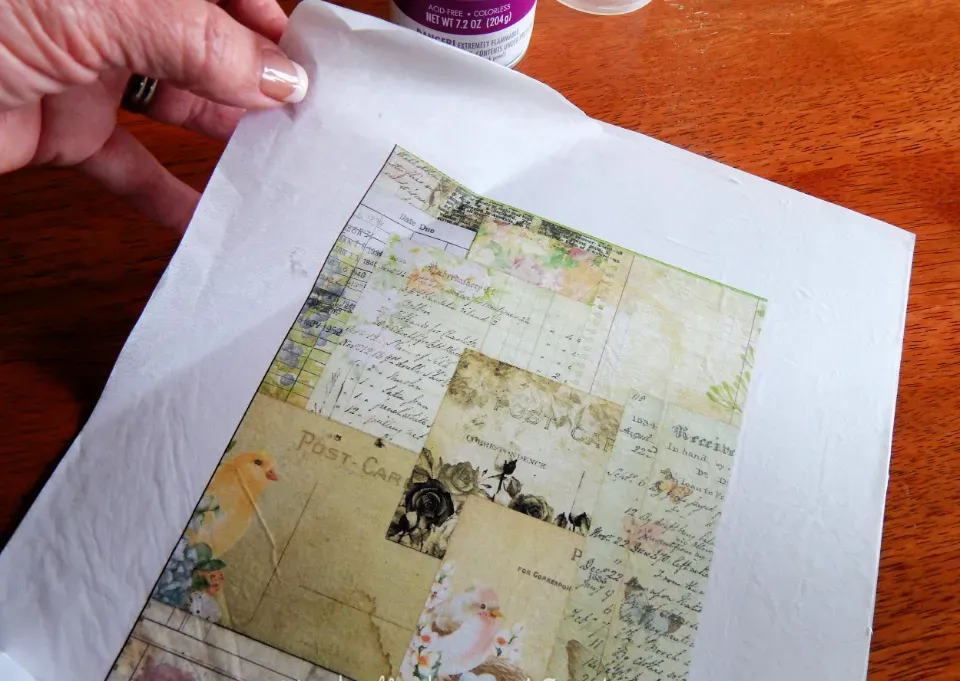
Custom printed tissue paper is so sheer and thin that it’s a good medium for decoupaging designs onto other materials. For instance, try printing photos on tissue and decoupaging them onto cardstock or photo paper.
Additionally, printed tissue paper is a fantastic liner for personalized cards. Additionally, it works with tiny pastry cups. Additionally, printing realistic-looking leaves for paper plant crafts on customized tissue paper can be a good idea.